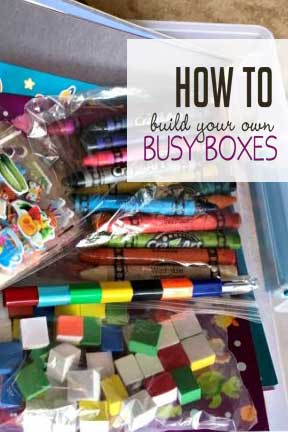
Click here to read How To Build Your Own DIY Busy Boxes – Free Tutorial on Hands On As We Grow
Build a quick go-to independent activity for your child with a busy box. Learn the basics with this easy DIY busy boxes tutorial from Alisha.
I love busy boxes! They help my kids stay engaged when I need a few uninterrupted minutes. Busy boxes are great go-to activities for that treasured “I need to get stuff done” time.
This simple tutorial will help to break down and simplify the process to build your own busy boxes. You’ll feel super confident using a series of helpful hands-on and “busy” activities for those moments when you need a minute.
They can be very simple or more complex, but that choice is totally up to you based on the age and interests of your child.
One beautiful thing about busy boxes is that once they are made, the busy boxes are ready to go.
By the end of this tutorial, you’ll learn how to make five DIY busy boxes for any occasion. Don’t worry, they’re super easy to make!
Take a peek at these simple toddler busy boxes.
How to Build Your Own DIY Busy Boxes
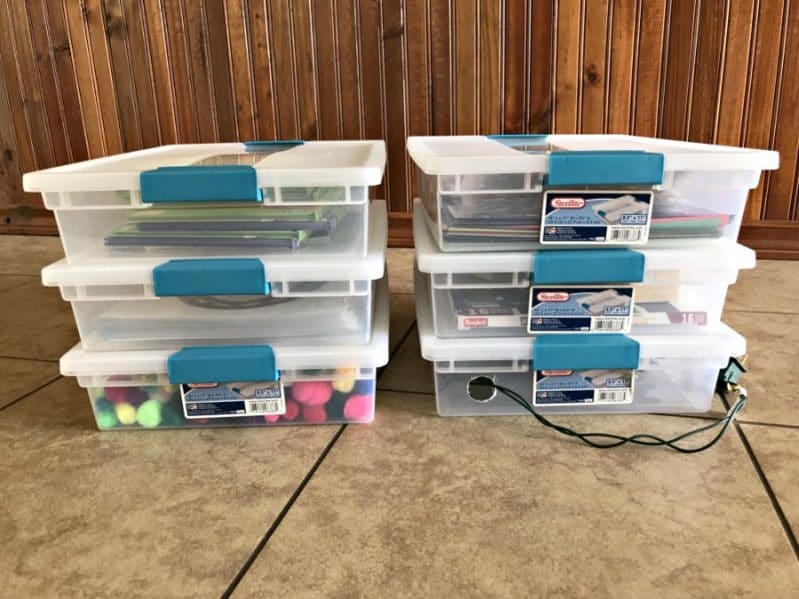
The first step is to gather the containers or boxes that you will be using to keep everything together. Pick something sturdy yet relatively easy for little hands to open.
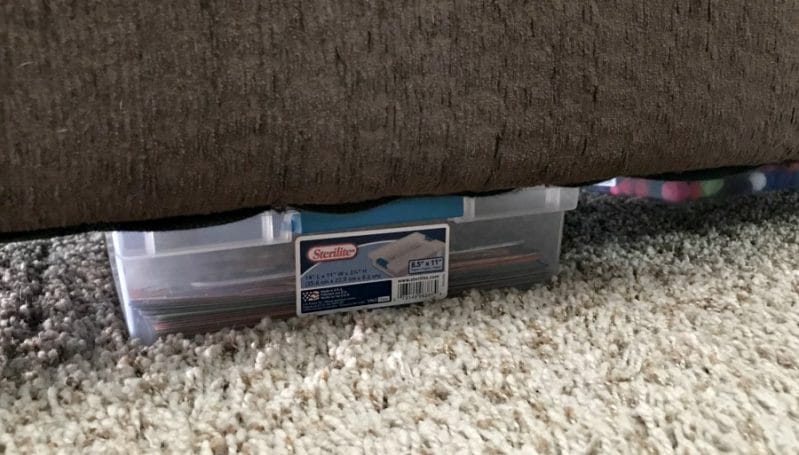
I chose these awesome containers (affiliate link) because they are big enough to hold all the items needed but thin enough to fit under the couch.
Yes, I store our busy boxes under the couch. You can store your DIY busy boxes anywhere that makes sense for your family.
Once you have your boxes you are ready to choose your activities and fill them up.
I chose to make five boxes for each day of the “work week.” You’ll see below that I used six boxes, but two of the boxes go together.
Filling Your DIY Busy Boxes:
The next step is to choose the best activities to put in the boxes in order to make them successful busy boxes for your child.
I’ll share the five activities that we use, but there are many more you can choose to use as well.
Try these 20 activities to keep kids busy that can easily be used in busy boxes.
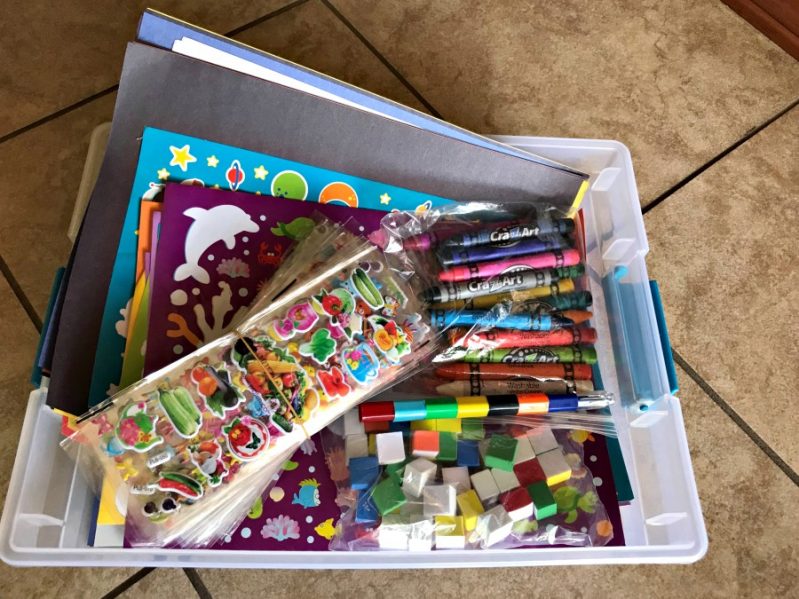
Busy Box 1: Sticker Busy Box
This simple sticker busy box is so easy to make and has brought hours of entertainment to my children.
Materials Needed:
- Stickers
- Construction Paper
- Crayons
This busy box is great as a creative and crafty outlet that many children really enjoy. My children make fun artwork, cards to give away, and delightful designs as well.
Click here for the full post about the Simple Sticker Busy Box.
Busy Box 2: Book Busy Box
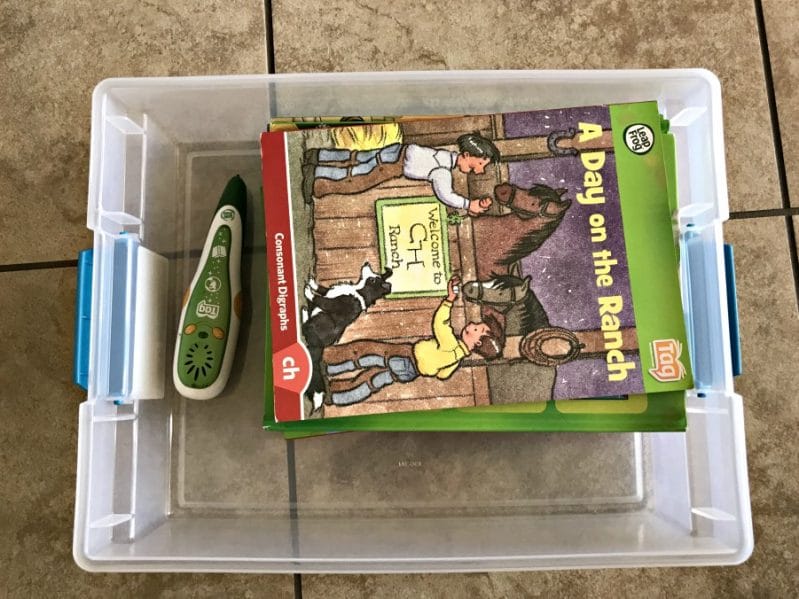
This fun busy box ia all about the joy of independent reading. If your child isn’t reading yet, then they can take a picture walk!
Materials Needed:
- Books
- Optional: LeapFrog Reading System (Affiliate Link)
- Optional: tech device for audio/video books
This busy box can contain “special” books that are only kept in the busy box. The books can be centered around a special theme (ex. dinosaurs or weather) or can be books that are special to your family.
Try these great hands-on books in the busy box.
I used the LeapFrog books because we were given them by a friend. The neat thing about these books is that the system’s “pen” reads the stories aloud to your child.
Another option is to use audio or video books. You can grab audio books online or use an audio book bag from the library. There are also tons of great books on video available for free.
Add your audio or video books to your busy box with a dedicated device. Or swap these options in and out as needed.
Busy Box 3: Pom Pom Busy Box
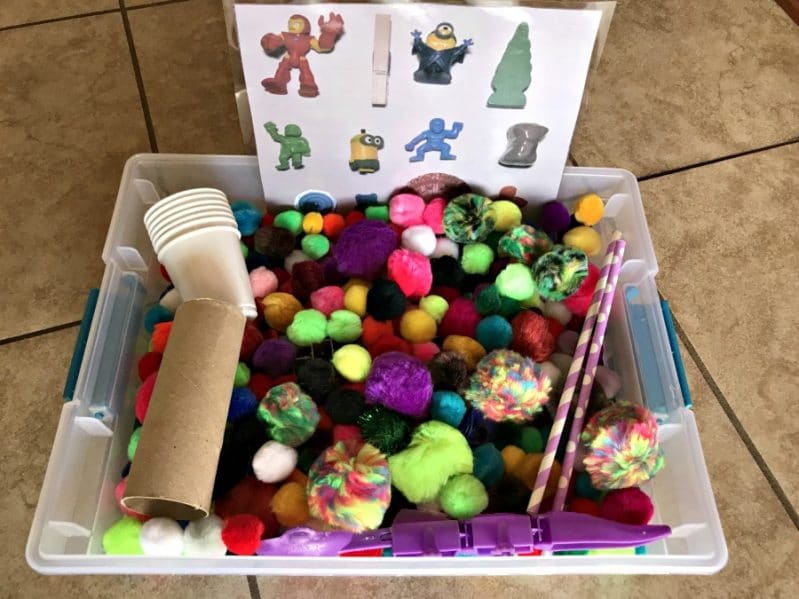
This colorful busy box may look chaotic, but it’s actually quite entertaining and fun. Pom poms are so versatile!
Check out all these super fun pom pom activities.
Materials Needed:
- Pom Poms (affiliate link)
- Various small objects
- Scoopers (cups, spoons, toilet paper roll, straws)
- Optional: Seek and Find paper
There are a few ways that this pom pom busy box can be used. Choose whatever works for your child.
It can be as simple as putting some pom poms and scoopers in a box, then letting your child have fun. They can sort by colors, scoop and dump the pom poms, slide them through the tube, or use a straw to blow them across the floor.
You can make it a seek-and-find by adding small objects to the bin of pom poms. Add a picture of each object to a document. Then print out the picture and laminate it to place in the box. Take the objects and hide them in the pom poms for your child to seek-and-find to place on top of the picture card.
Sometimes my children choose to just play in the pom poms and other times they enjoy the “structured” game.
Busy Box 4: Big Letter Tracing Busy Box
This busy box provides a great opportunity to sneak in some learning and letter practice.
Materials Needed:
- Pages with letters on them
- Metal ring or string
- Tracing item
- Optional: laminating pages
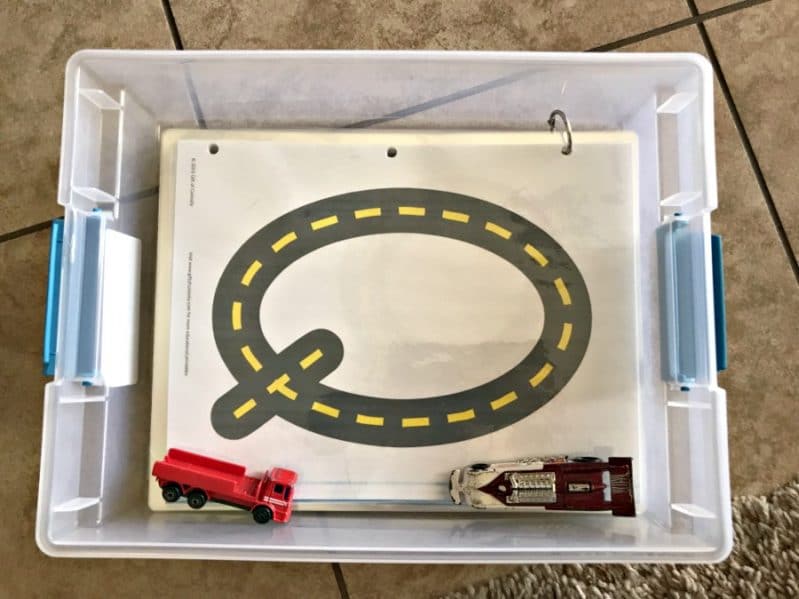
I created this busy box for my son as a way to spark his interest in learning the formation of his letters. This letter tracing busy box focuses on children developing fine motor skills for letter writing by tracing “big” letters.
Print off and laminate these big letters. To keep things neat, you could make a book of your letters.
Hole punch your letters on one corner and connect with a metal ring. You could also connect them as a book by making several holes down one side and binding them loosely with yarn.
The road letters (affiliate link) and cars were an added bonus because he really enjoys his toy cars. However, you could use regular letters and your child can trace them with their finger or a small toy that interests them. You could use small dinosaurs, trains, or fairies.
You could also add in a letter tracing workbook for your child as well.
Busy Boxes 5 & 6: Light Table Busy Box
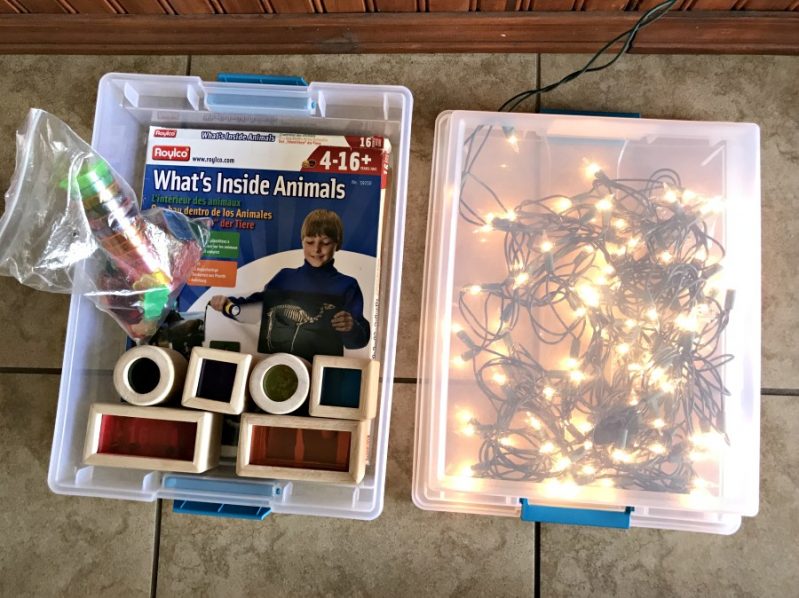
These busy boxes go together. I used one of the containers to make the light table and the other to hold the items to place on top of it.
Learn how to make a DIY light table.
Materials Needed:
- String of lights
- Transparent Objects
- Optional: Animal X-Rays (affiliate link)
This busy box is definitely a favorite for my children! I’m continually finding new objects for them to place on top of the light table.
So far, we have x-ray cards, some small colored cups (affiliate link), transparent counting bears, gems (affiliate link), and colored noise maker blocks.
My children enjoy placing the objects on top of the light table to see the colors shine through. They sort the objects, place the bears in the cups, stack the cups, and slide the colored gems around to form shapes.
There are endless play possibilities!
Using Your DIY Busy Boxes:
These DIY busy boxes can be used in many ways and however works best for you. There isn’t one perfect way to use them.
The important thing for successful busy boxes is to teach your child what to do in each busy box. The goal is independent play!
Busy boxes can be used as a “boredom buster” when your children are wandering around looking for something to do or as a quick activity to do together.
Your busy boxes can also be special quiet time boxes. Pull them out during certain times of day, during travel, or when parents need a minute to work.
DIY busy boxes will be great sanity savers, plus easy ways to encourage the fun and learning of independent play.

No comments:
Post a Comment