Click here to read Sort Living and Nonliving Things Activity Collage on Hands On As We Grow®
Find a bunch of pictures of living and nonliving things to make a collage of each and learn a little about sorting and classifying them in this activity.
One day, Henry came home with a note from school. They were asking for a picture of one living thing and another of a nonliving object.
First, we found one picture of each.
Next, we set out to make a collage of each and learn a little about classifying.
We searched for a bunch of pictures of living and nonliving things.

I’m going to start this activity backwards this time, because I think you’d find this helpful to do beforehand. Even though we didn’t think to research until after we did our living and nonliving things activity.
After we made our collages the boys (Henry mostly) had a lot of questions. How to clarify what it meant to be living or nonliving.
So I headed to the internet to find out.
The most helpful site I found to explain this concept to preschoolers and kindergartners is on Math/Science Nucleus.
It lists the following as traits to distinguish between living and nonliving things. (I’m summarizing, so see the site to get it from them too!)
How do you explain living and nonliving things?
- Living things grow. This is one that I mentioned in our classifications. It held true in our encounters, but there are exceptions.
- Most living things can move on their own. Although plants do not. And cars and trucks move too. I found this not a great way to explain to little kids.
- Living things need food, water, and a place to live. This one seems obvious to me now, but I couldn’t think of it as we were classifying. The site also mentioned that almost all living things need air. We did mention air, but we were talking about a candle, so there are exceptions there too.
- Living things reproduce. Things that are not living cannot have “babies.” This I find to be a very definitive and if the kids were a bit older a very good way to explain it. But I didn’t think they’d understand it at this age.
Activity time: Begin the hunt for living and nonliving things to sort.
Now with a little clarification of what pictures to look for…
Go on a search through any catalogs, magazines, or newspapers you have. Cutting out pictures of whatever you find.

We sorted the pictures of living and nonliving things as we went along with the activity. I labeled a baggy for each to sort into.
This was great cutting practice for George. While he had great control over scissors and cuts very well, he had never cut around something before. So this was a first for him to cut in a certain way instead of whatever he likes.

The boys each had a magazine to flip through and find objects.
George landed on one that had several lizard ads for a paint product and they loved them. They each cut out a couple (they were each an entire page ad).

I sat with them an flipped through a magazine too. I pointed out an object every once in a while and asking if it was living or nonliving.
You could also go on a scavenger hunt in nature and talk about living and nonliving things!

This activity opened a lot of discussion about what made it a living or nonliving thing. Though I realized I was stumped on the answer. (Which is why we researched it later and wish I would have started with that).
Sort and Make a Collage
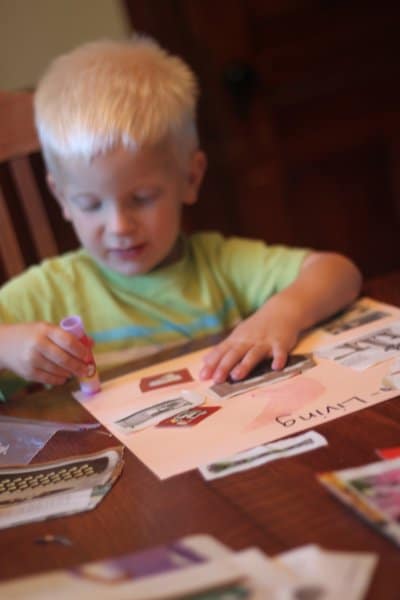
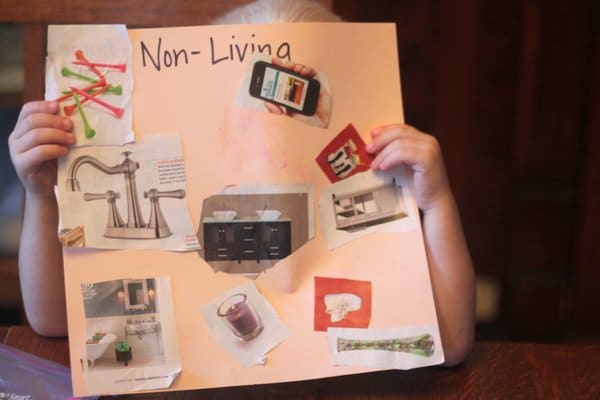
Once we had a bunch of pictures cut out, I gave the boys each a piece of scrapbook paper. I wrote living on one and nonliving on the other.
The boys glued all the pictures to their paper to make a quick collage.

With the magazines I had for this activity (a home repair and a home decor one) I thought we’d have a harder time finding living things, but we actually came up short on the nonliving pictures!
I noticed George was severely short on pictures of nonliving things. So I kept cutting to fill up his paper a bit more.

On the other hand, Henry had more than enough pictures of living things! He filled up both sides of his!


No comments:
Post a Comment