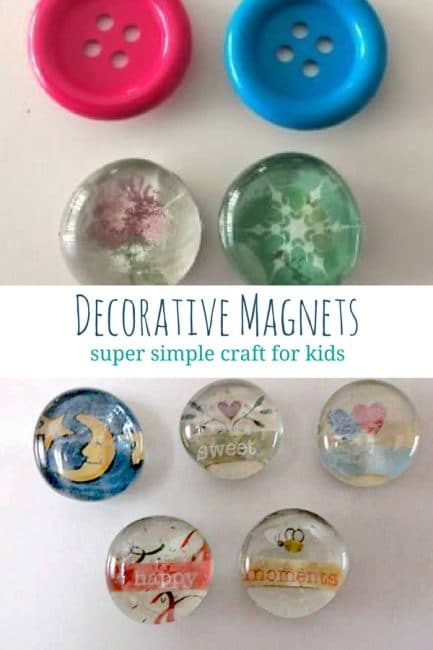
Click here to read Create Simple Decorative Magnets on Hands On As We Grow
Perk up your fridge with simple decorative magnets from Brigitte!
Making some decorative magnets together is a super simple craft to do with your children. The supplies are easy to find, too!
How to Make Decorative Magnets with Buttons
If your children can keep buttons and magnets out of their mouths, then you might be ready to try to fun craft. It’s a good way to practice creative planning and fine motor skills, like peeling.
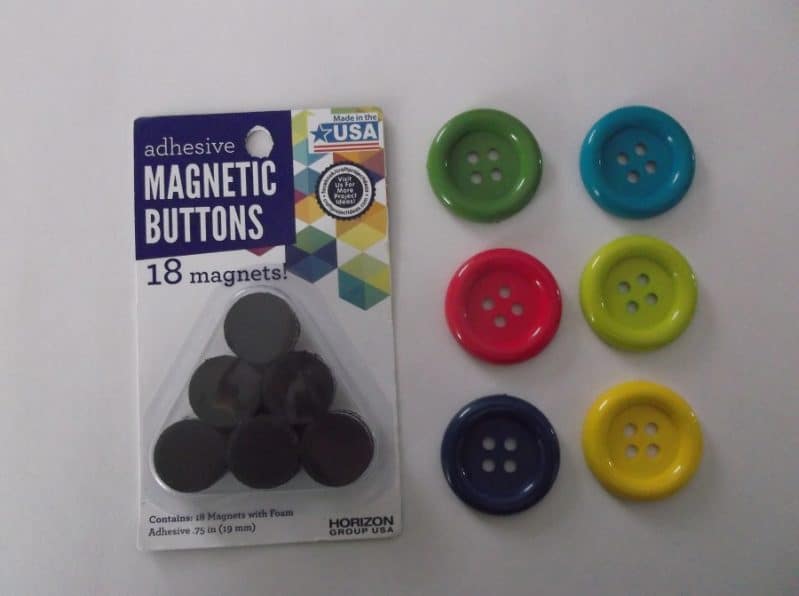
You’ll need:
- buttons (affiliate link)
- adhesive magnets
You can also jazz things up with extras like stickers or glitter.
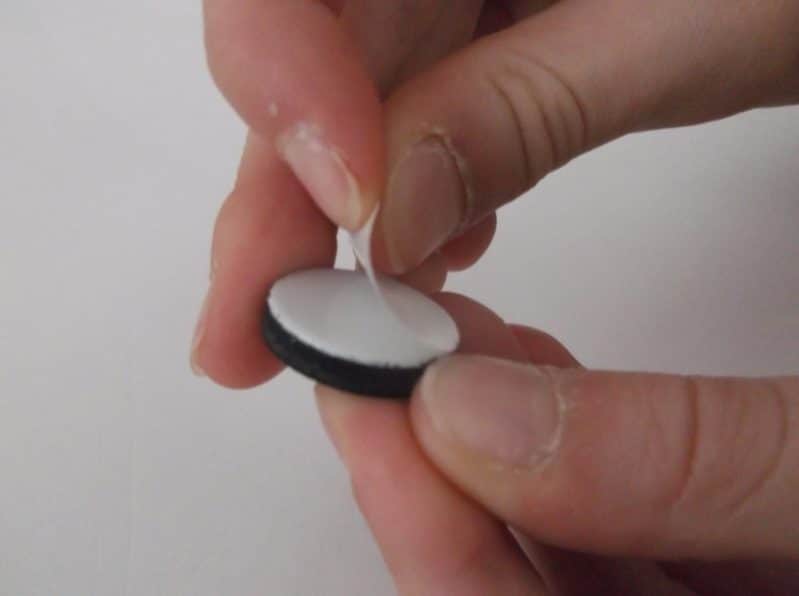
First, peel the backing from an adhesive magnet.
Then, stick the magnet on to the back of a button. Help younger children to center their magnet onto the back of the button
The button magnet is done- so simple!
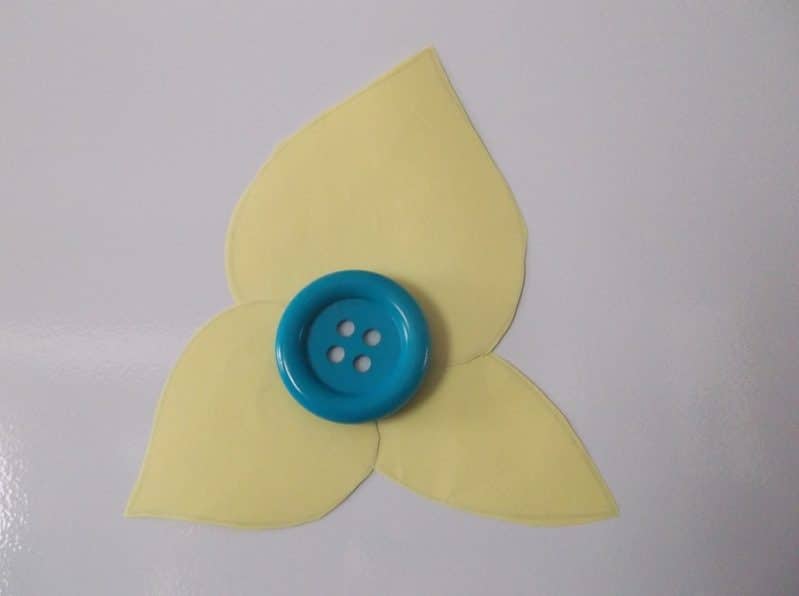
Your little one may want to create her own little button flower.
To do this, draw and cut petals from construction paper. Then, hang the petals on the refrigerator with the newly created button magnet.
Do more with button activities and crafts!
How to Make Clear Stone Picture Decorative Magnets
Some preschoolers and school-aged children may want more of a challenge than the cute button magnet. If that’s the case for your children, they may enjoy creating a decorative clear stone magnet (while your little one is having fun with her little button magnet) with these easy steps.
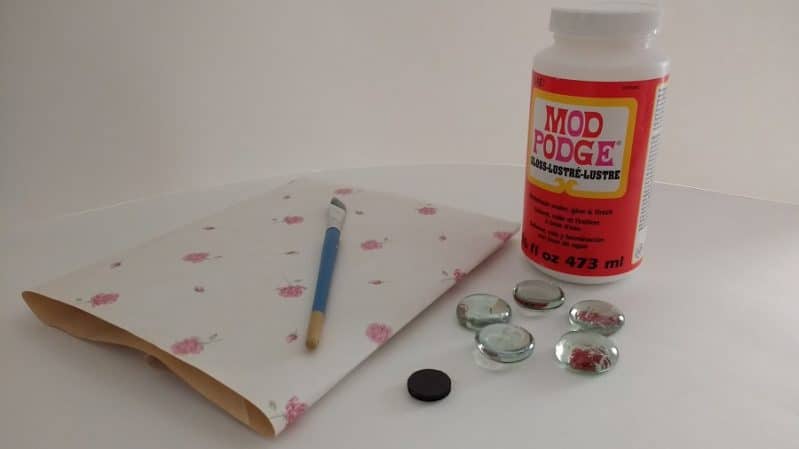
You’ll need:
- paintbrush
- Mod Podge (affiliate link)
- adhesive magnets
- clear stones (we bought a bag at Dollar Tree)
- decorative paper or old magazines (for a picture to put on to the stone)
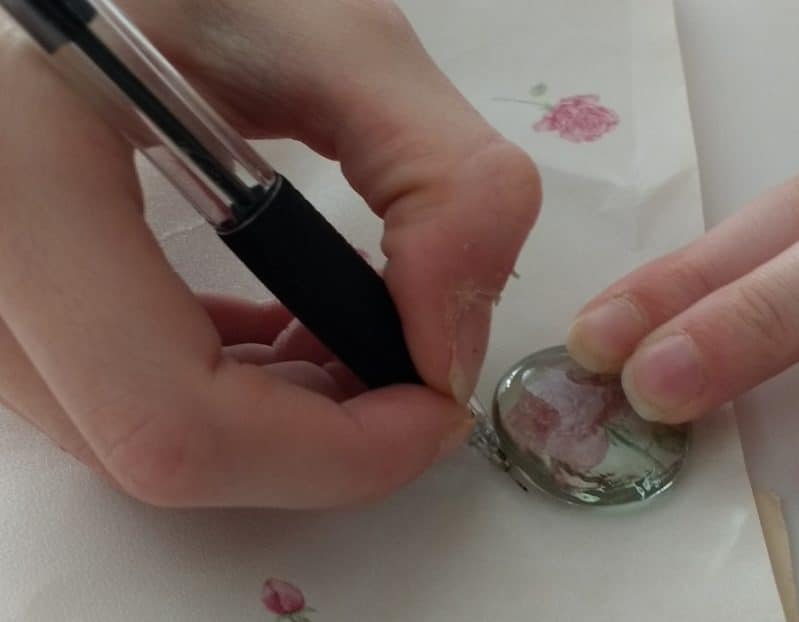
First, trace around the stone while holding it firmly over the chosen picture.
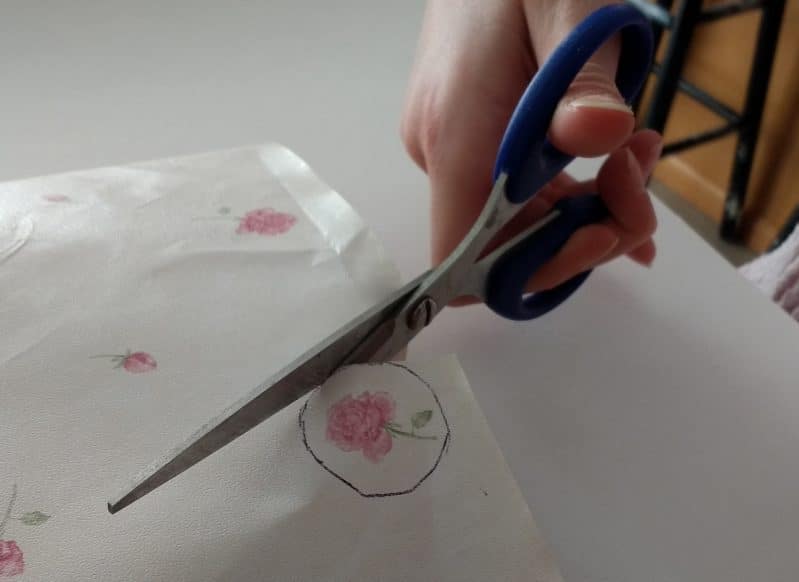
Next, cut on the traced line. It’s okay to cut a little on the outside of the line because it can be trimmed later if desired.
This is great cutting practice!
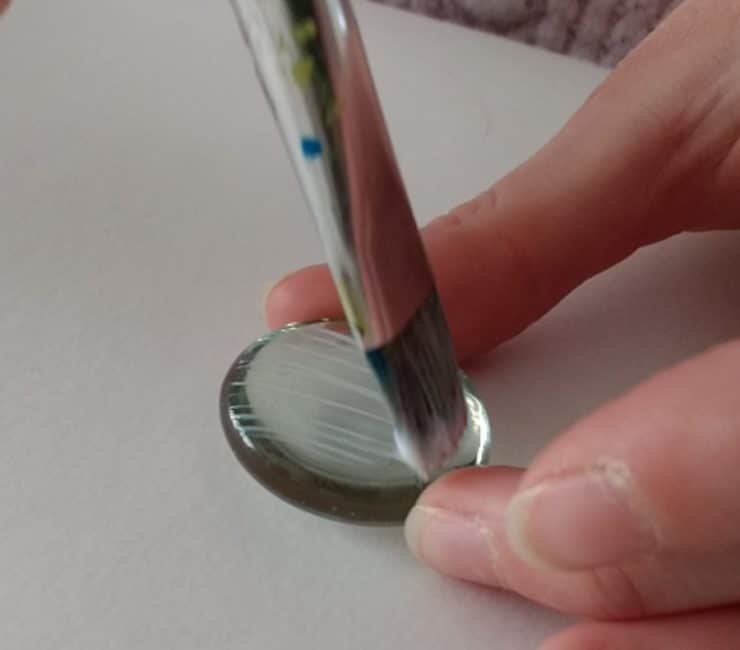
Using the paintbrush, add a layer of Mod Podge on to the flat side of the clear stone.
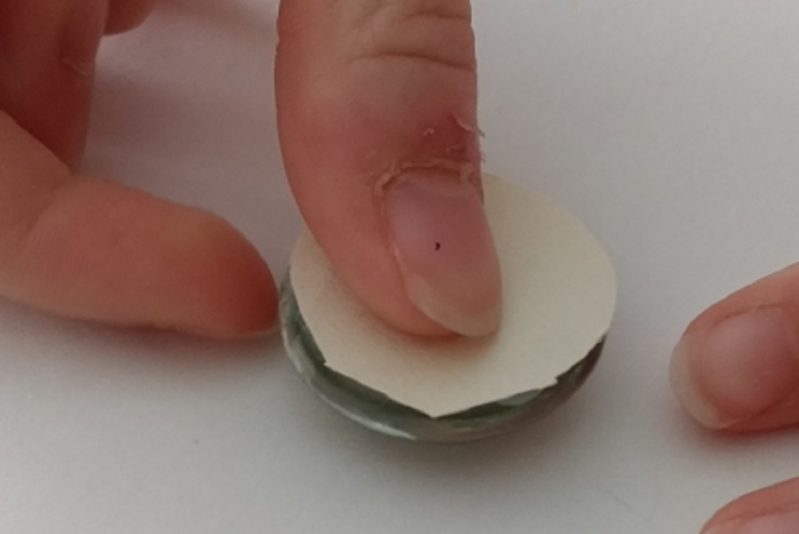
Place the picture face down on to the stone. Press firmly.
Let dry. If the paper doesn’t stick well, you may need to apply a thicker layer of Mod Podge and then let dry again.
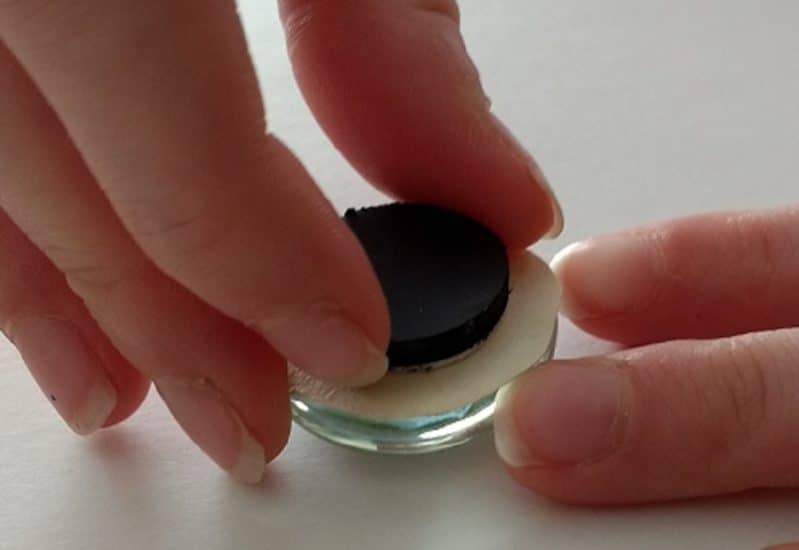
Once it is completely dry, peel and stick the magnet on the back of the paper.
If desired, any excess paper can be trimmed from around the edges of the stone. The front side of the stone may also need to be wiped off with a damp washcloth.
Find another adorable craft that uses Mod Podge.
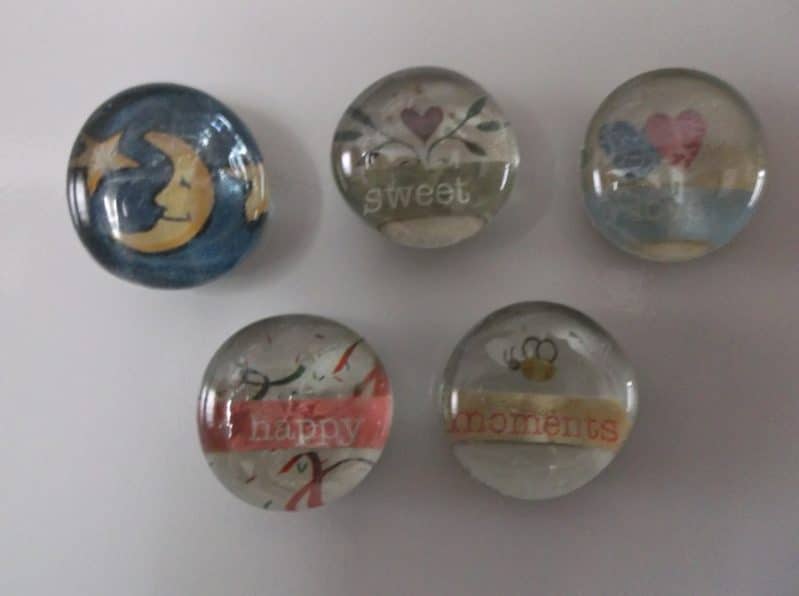
Whether your kids decide to make a button magnet or a clear stone magnet, these cute creations can be used to hang their latest piece of artwork on the refrigerator.
School-aged children may even be able to use their decorative magnets in their lockers at school. Simple, fun, and useful!

No comments:
Post a Comment