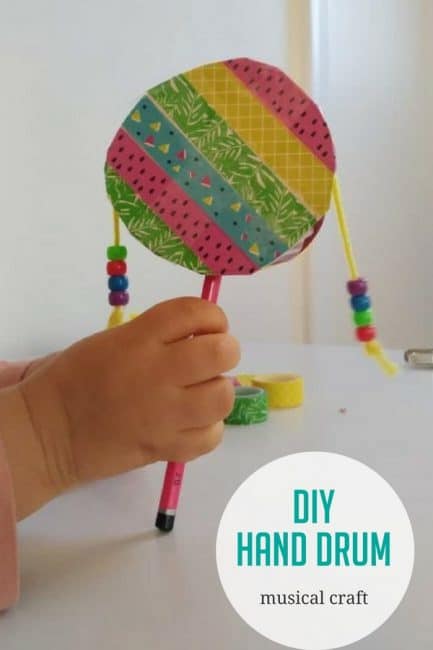
Click here to read DIY Hand Drum Craft for Kids on Hands On As We Grow
Make a DIY hand drum with this sensory craft activity from Francis!
My husband’s job often takes him to exciting places around the world. We’re always excited to hear his amazing stories when he comes back home.
The kids are especially excited to see if he brings back something for them too!
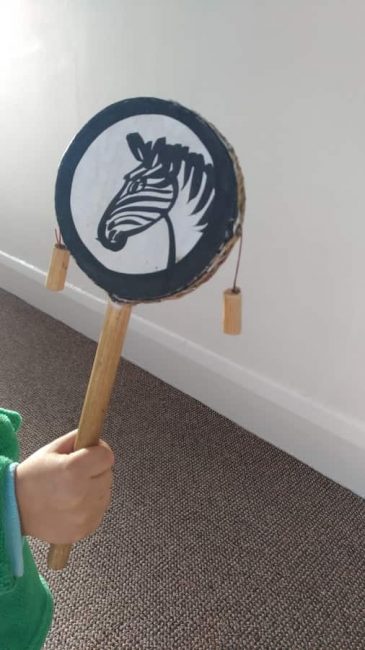
His most recent trip was to a small city in Rwanda, Africa. He brought back a hand drum that kids use a lot over there.
The Rwandan drum was such a big hit that we decided to try making one for ourselves.
Our DIY hand drum turned out great!
If your kids love instruments, here are 4 instruments for them to make!
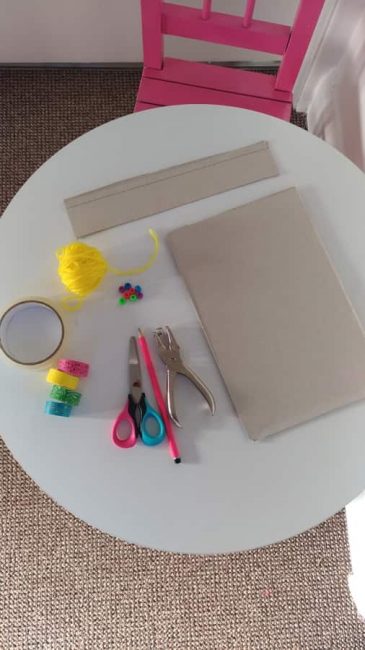
What We Used to Make Our DIY Hand Drum:
Some items on this list can be easily substituted. Don’t be afraid to try it out with other things you may have at home!
- Yarn
- Beads
- Decorative tape (like washi tape)
- Sticky tape (like scotch or masking tape)
- Pencil
- Scissors
- Cardboard (we used a cereal box)
- Single hole punch
How to Make a DIY Hand Drum:
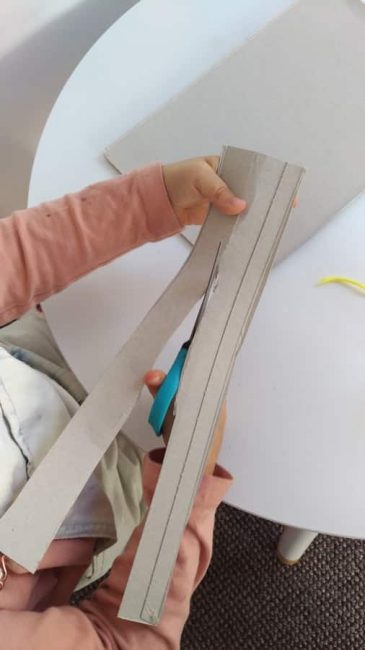
Use the long skinny side of the box. Cut the cardboard in half to make thinner strips. If you’d prefer a thicker drum, you can leave the cardboard stips a little thicker.
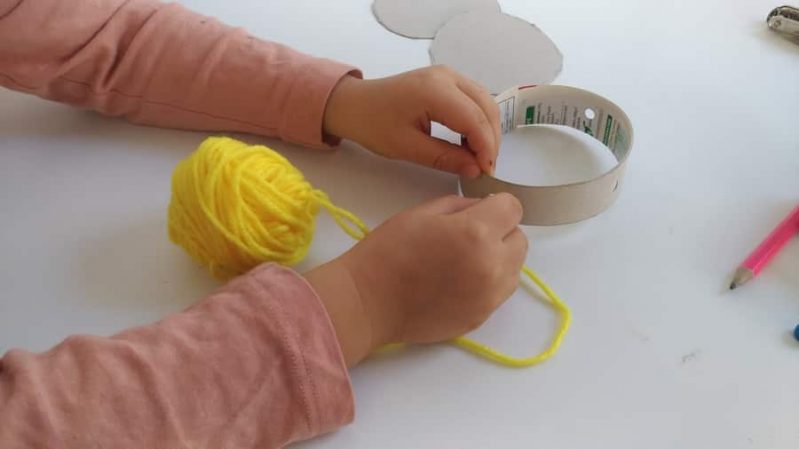
Gently shape the strip into a circle and tape the ends to make our ring. With one cereal box, you could make several drums!
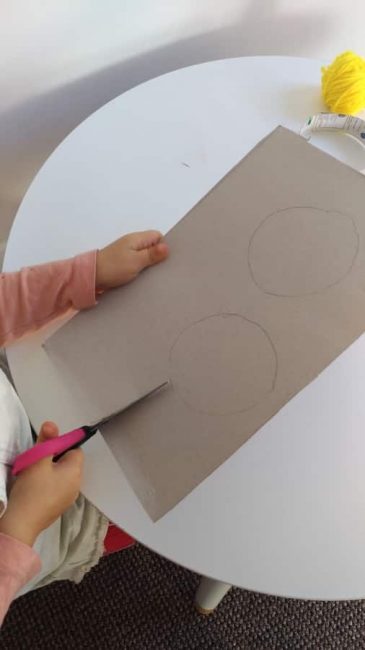
Melissa traced around the ring to make 2 circles on another piece of cardboard.
Cut out your circles. This is a great time for older children to practice cutting skills.
You will need to make 3 holes on the ring: 2 on opposite sides of the ring and 1 on the bottom.
Our hole punch is very hard to use. Melissa and I did this part together.
Practice with the hole punch with this fun Find the Letter activity.
Next, Melissa threaded one a piece yarn into each side hole of the ring.
Put one end into each of the holes that are opposite each other. We used sticky tape to fasten the yarn inside the holes.
It’s important to leave your strings extra long since you still need to attach beads so that the drum will work.
Decorate with tapes and beads
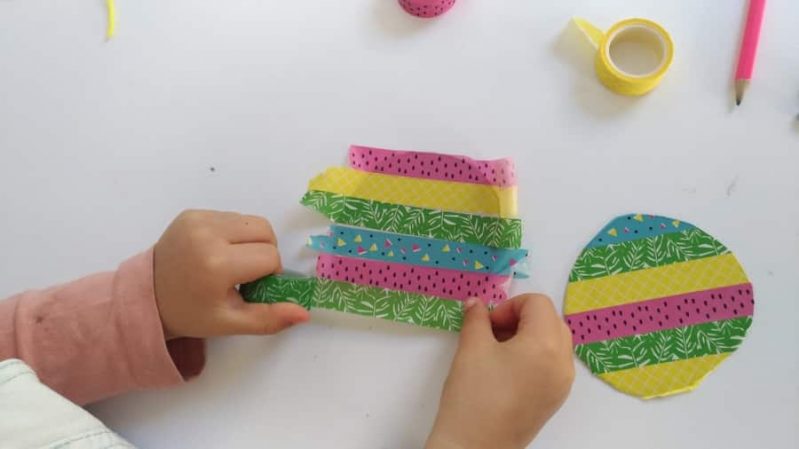
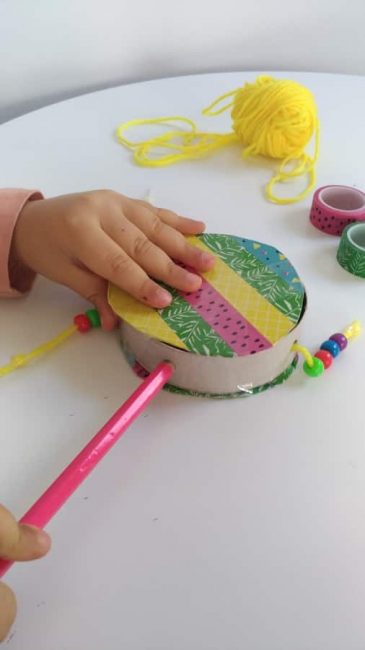
Melissa chose colorful tapes to decorate the drum’s sides. Cover each side of the drum completely, tucking the end of the tape under.
This was her favorite part! She loves these tapes.
These activities are great ways to learn indoors with tape!
After the circles were fully decorated, we placed them on either side of the ring. Use sticky tape to hold them in place.
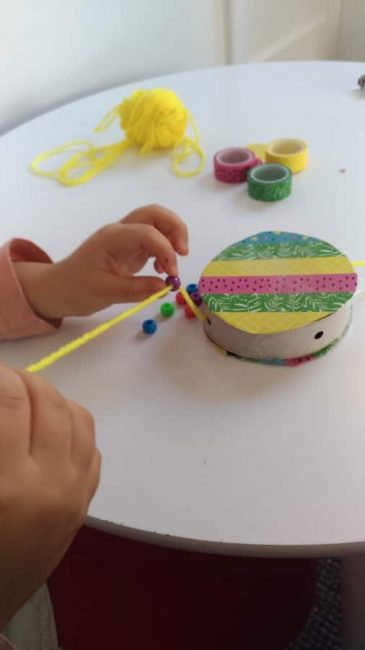
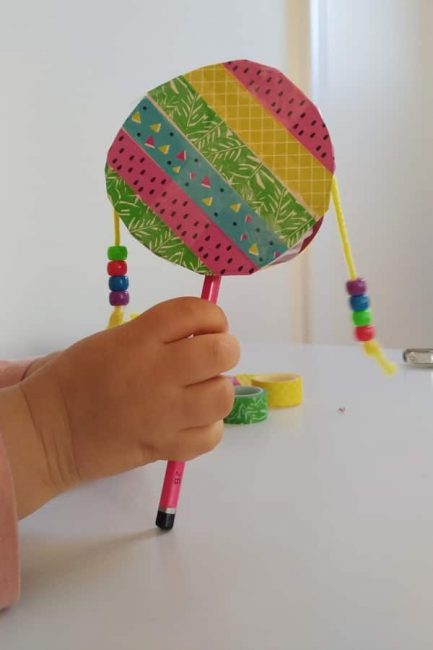
Melissa added 4 beads on each piece of yarn and I tied a double knot at the end.
Gently stretch out each piece of yarn just to make sure it’s long enough for the beads to reach to the middle of the drum!
After decorating, the final step is to attach the pencil to be the handle. Melissa selected a pink pencil, her favorite color.
The pencil was a perfect fit for the hole we had made. You can use a straw or even a stick.
Twist the pencil in your hand for the beads to hit the drum and you’ll have a great DIY musical instrument!
My younger son loves this DIY hand drum, so we might be making another one very soon!

No comments:
Post a Comment