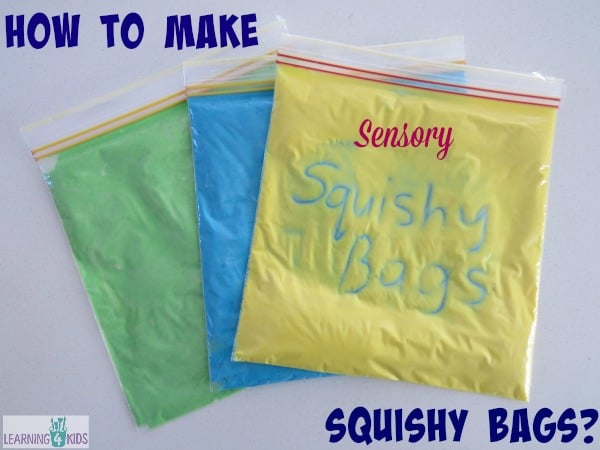
Squishy bags are perfect for sensory play without the mess. They are cheap and easy to make and your child will enjoy manipulating and playing with them.
The squishy bag is perfect for practicing letters, numbers, name writing, drawing pictures, shapes and words. Your child can practice hand and finger movements for pre-writing development on the squishy bag.
There are so many different ways to make squishy bags, I have seen others use glue, paint, hair gel, baby oil and shaving cream. Today I am sharing with you how we made our Squishy Sensory Bags using flour, water and food colouring.
What you will need?
For one sensory bag, you will need 1 cup of flour, 6 tablespoons of water and food colouring. You will also need zip-lock lunch bags (22cm x 22cm), sticky tape and a small mixing bowl.
Adjust the flour and water amounts if you are using a smaller or larger zip-lock bag.
Step 1:
- Place flour into a small bowl.
- Add food colouring.
Step 2:
- Now add the water.
Step 3:
- Mix until all the ingredients are well blended.
Step 4:
- Scoop the flour mixture into the plastic zip-lock bag.
Step 5:
- Before fastening the end, place the squishy bag onto a flat surface.
- Gently push any excess air out to avoid air bubbles.
Step 6:
- Press the clips of the bag closed and ensure there are no holes.
Step 7:
- Place sticky tape along the opening to secure the opening.
Play Ideas
Some ideas:
- Place the squishy bag onto a light table/panel.
- Use your finger, soft paint brush or a cotton wool bud (Q-Tip) to write your name, letters, numbers and shapes.
- Explore the squishy bag for a sensory experience, watch what happens as you squeeze, squish, press, etc. Cause and effect, one action creates a another reaction.
Click here for more SENSORY activities & play ideas
Available in our online shop:
Please click on the product names to view product details.
Squash-EE Lower Case Letters Set of 26
The post How to make Squishy Sensory Bags? appeared first on Learning 4 Kids.

No comments:
Post a Comment