
Click here to read 5 Different Activities for 6 Lines of Tape on Hands On As We Grow
Just six simple lines of tape can lead to a lot of fun while you develop fine motor skills, too!
We recently did our tape jumping game again.
It is such a blast! The kids get so many giggles out of it.
This time, we expanded on it a little though and had some more fun with the same lines of tape?
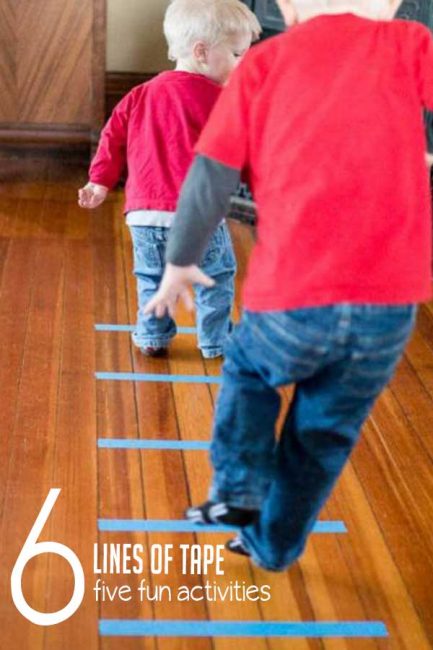
First, I used painter’s tape and made six lines of tape about a foot apart from each other.
Or try these 2 activities with ‘different lines’ of tape, which is one of the challenges during the 7 day challenge.
And then we had so much fun!
A note before starting: I highly recommend the use of painter’s tape in many, many activities. However, it can damage hardwood floors. I recommend the use of delicate surface painter’s tape (affiliate link), and to also test it in a hidden area before doing in the middle of your floor. If at all possible, do this on carpet (tape sticks to that too!) or tile flooring. Or you can take this outside as well and do it with sidewalk chalk. Same thing!
What can be done with some lines of tape?
1. Jump, of course!
The original way we did it, jumping from the first line and seeing how far they could jump.
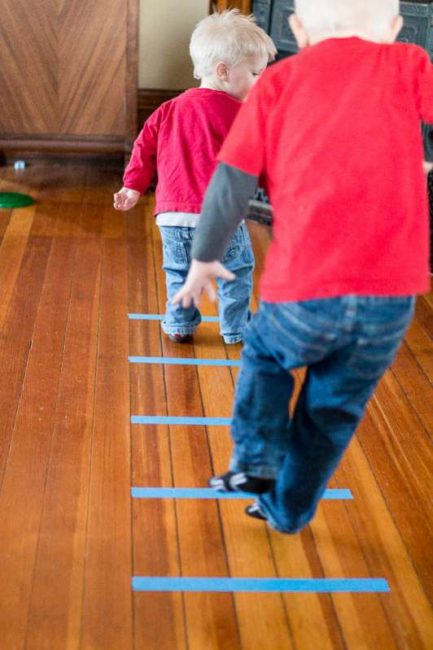
We also jumped from line to line or skipping over a line.
2. Jump backward
Same as number 1, just doing backward.
3. Jump with one foot
George has been practicing this at school a lot, so it was fun to bring it into this activity. He can definitely jump on one foot, but not very far (mostly in place).
He asked me to hold his hand while jumping with one foot to help him.
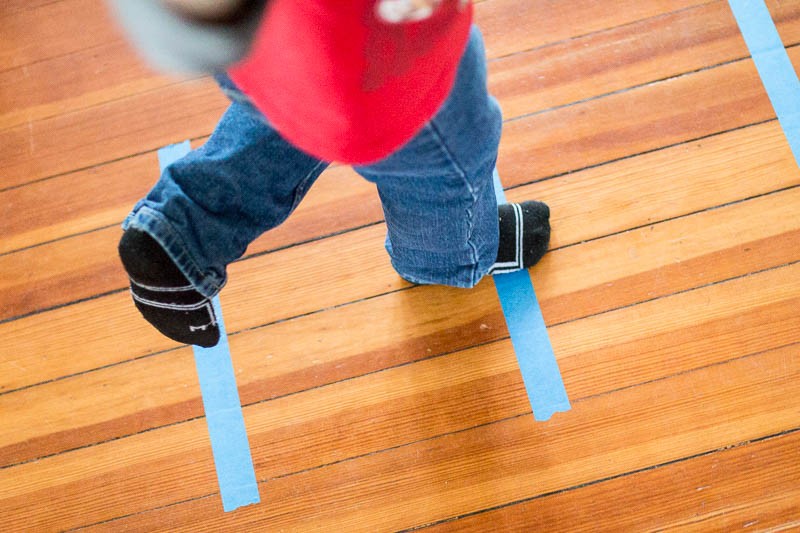
4. How far can you stretch?
Starting with your foot on the first line, see how far you can stretch with your other foot while keeping your first foot in place.
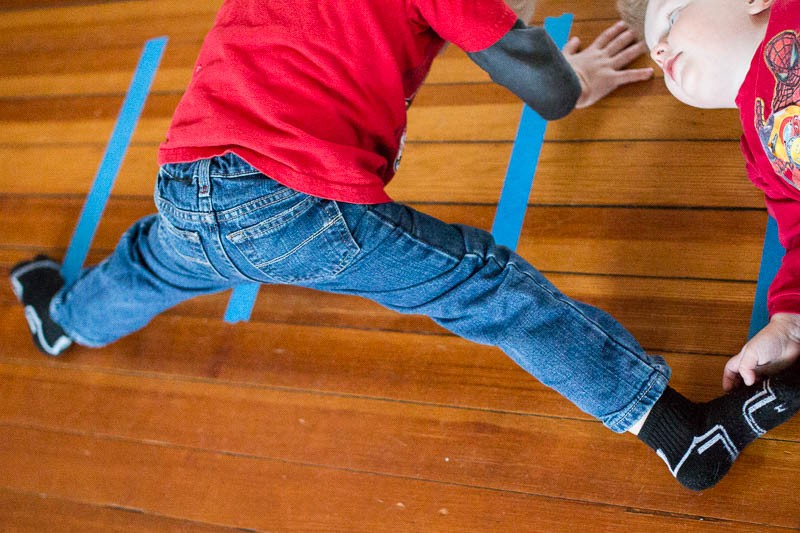
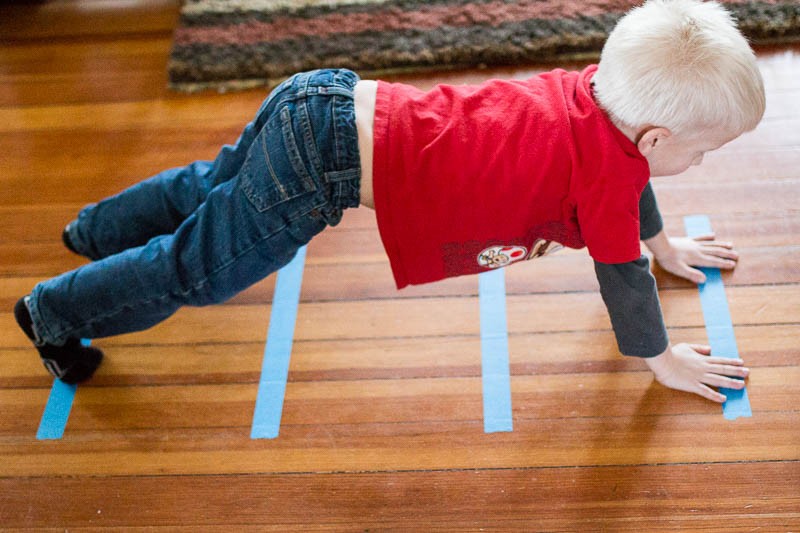
4. How far can you reach?
Start by standing on the first line and then bending over to touch the next line with your hands. Then walk forward with your hands, seeing how far you can reach.
5. How long are you?
Measure yourself! Lay down and see how long you are.
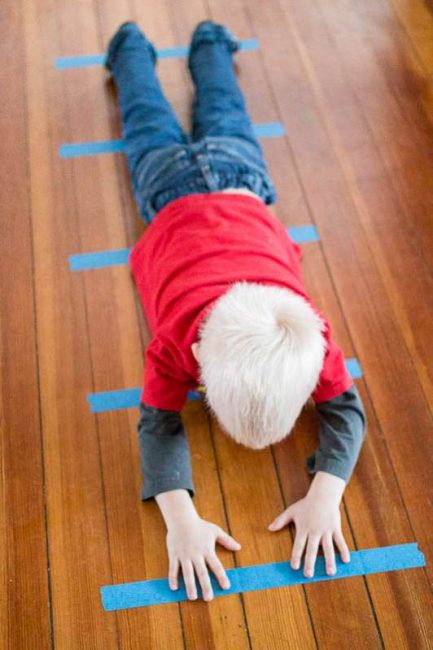
For older kids, write down their measurements and compare!
For younger kids, just do it and giggle!
Louis is 2 years old and he can jump pretty good, but can’t jump far enough from line to line yet. But he gets in there and does everything still haven’t a blast!
For all kids, I highly recommend that you, the parent, teacher or caregiver, do it too. That’s what will make them get the most giggles when they see you doing it.
I recommend doing this for any of the activities in the 7 day challenge. It really makes a difference!


")


