Click here to read Easy Halloween Shaving Cream Sensory Activity on Hands On As We Grow
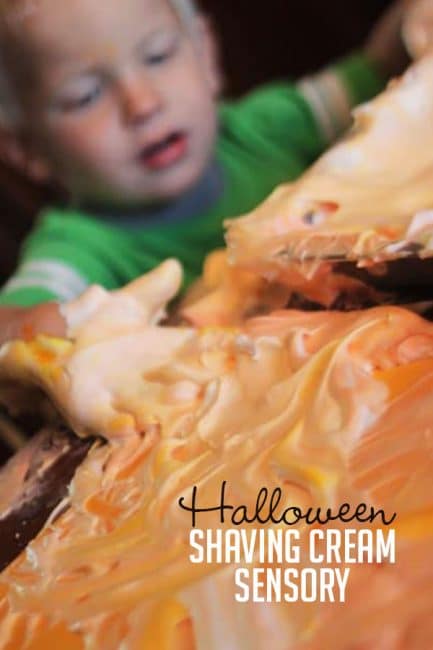
Get goopy and messy with a fun Halloween shaving cream sensory activity for preschoolers and toddlers!
I love a good sensory activity! Halloween is a great time of year to get a little messy, too.
This fun Halloween shaving cream sensory activity is the perfect combo of messy fun and holiday spirit!
Easy Halloween Shaving Cream Sensory Activity
Sensory activities are such a fun way to help little ones explore and learn.
George and I had a little time while Henry was at school, so we decided to discover color mixing with a fun sensory activity!
This one is pretty simple. It’s just shaving cream on a baking sheet.
I added food coloring in orange, red, and yellow to add some Halloween spirit!

George was very hesitant to touch it at first. Until he held out his hand and I squirted the shaving cream directly in his hand, he wouldn’t touch what was in the pan.
That opened the gate though. He was all about the slimy shaving cream then!
As he was playing, I added some school glue (affiliate link) to the mix. This made it a little stickier, slightly a different texture.
It also made it into puffy paint.
I grabbed some scrapbook paper in Halloween colors. Orange, yellow and white.
Then, I showed George how to transfer the shaving cream and paint it with his hands.

That was even messier fun for him! George spent a lot of time on the first paper.
Globbing on the shaving cream. Smearing it around. Exploring it further.
Once the first one was covered though, he asked for another piece of paper.
Then it became a game. To cover it all with shaving cream, as fast as he could, smearing it quickly to all the corners.
Then he handed it to me. Asking for “More!”
Lots and lots of paper got shaving cream smeared all over.
Lots and lots of George got smeared all over as well with shaving cream! He was pretty much covered from head to toe.
Cleaning up was fun!
Here are my Top 10 Indoor Activities for Toddlers to play!
However, once we got all cleaned up in a new change of clothes, I remembered I wanted to add a little glitter to the papers while the shaving cream was still wet.
George dove into it and sprinkled glitter all over. He only got slightly messy this time at least!

Yet later that day…. there was yet another change of clothing (stay tuned!). The fun he had with the shaving cream though made it so worth it!
How can you not love this, even when he’s a mess?

We’ve made shaving cream prints before, and cut them out for Easter eggs. With that method, we scraped off the shaving cream to leave a marbled effect from the food coloring.
This time we left the shaving cream, or puffy paint, on to dry.