Click here to read Simple Upcycled Snowman Painting Project on Hands On As We Grow®
Go super minimalist with a completely upcycled snowman painting project from Erin using all sorts of recycled goods!
More than anything, I want activities with my kids to be simple to prepare. This means minimal time and minimal supplies.
Because let’s face it, the less time I spend getting a craft together, the more time I have for important things like cleaning the house, feeding my children, and watching Brooklyn 99. Just the basics, really.
Which means that I love a solid activity using recycled materials. And paint because my kids can paint forever!
Simple Upcycled Snowman Painting Project for Kids
This upcycled snowman painting project only takes a few minutes to set up and uses all things that you likely already have sitting in your recycling bin!
Try even more creative painting ideas for kids!

To DIY your own upcycled snowman painting project, you will need:
- washable paint
- boxes and lids in snowman shapes: large circle for the body, small circles for the eyes and buttons, rectangle and square for the hat
- pizza box or cardboard
- straw
- scissors
Winter Crafting Brought to You by Recycling
You’ll need to dig through your recycling bin to find suitable shapes and materials for snowman painting.
We had a pizza box so I decided to use that as our painting canvas.
If you don’t have a pizza box lying around, don’t worry! You can also use regular paper, newspaper, or any piece of cardboard for your canvas.
I poured the paint on the other half of the pizza box. Just good-sized blobs of paint plopped in separate spaces.

Add a Little Stamping Snowman Action
Snowmen (or women) need nice round snowballs for their bodies. And snowballs are circles, which can be kind of hard to draw perfectly.
We grabbed a large plastic lid for the body. They stamped the top into the white paint and then pressed it onto the cardboard.
If you wanted to make the “head” snowball smaller or have three of different sizes, just use different sized lids.
Instead of stamping, you could also trace around circles and then paint inside.

The white plastic table inside the pizza box was a fun tool for adding some snow to the scene!
Dip the prongs into the white paint. Then stamp all over the box, over and over again.
Presto: snow!

An old butter box and cream cheese box were the perfect shapes for the hat.
We dipped the box into the black paint and stamped it on top of the three snowball circles. One long skinny rectangle for the hat brim and a more square-type rectangle for the top of the hat.

A small plastic cap was our choice for the eyes and buttons.
Stamp, stamp – once for each button eye.

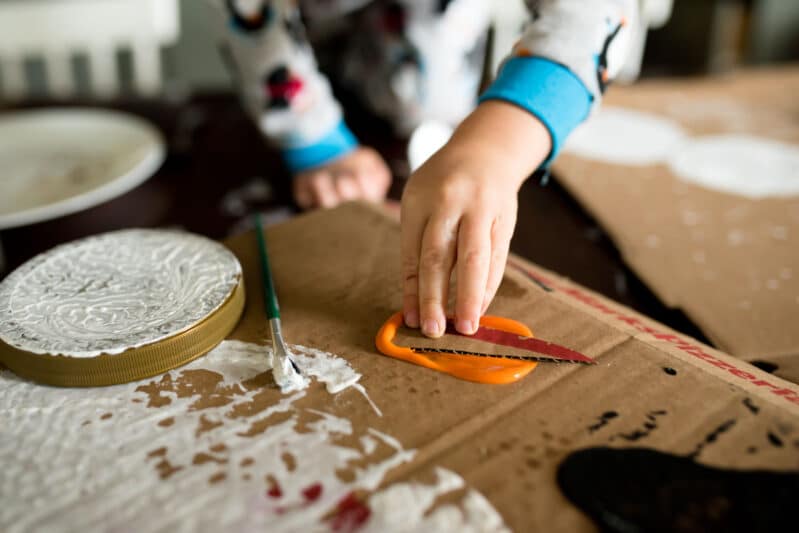
For the nose, I cut a triangle out of the pizza box. My son dipped it into the orange paint blob before we stuck it onto the snowman.

We couldn’t find anything small enough for the mouth, so my son just used his finger! I loved this unexpected sensory addition to our upcycled snowman painting project.
A melting snowman craft would be a big hit with kids, too!

The final step was to stamp on the arms with an old plastic straw. For the shorter “fingers,” we just used a small section of the straw.

Painting Project Tips for Hands-On Moms
Let’s be real, doing a painting project with little kids isn’t going to be exactly clean. In fact, it’s probably going to be a huge mess.
But there are ways that you can limit the post-project cleanup.
We always use kid-friendly washable paint because certain three-year-olds around here have a way of getting paint on our nose, shirt, and the nearby dog.
Add Imagination to Your Snowman Painting Project
According to that same well-painted three-year-old, this snowman’s name is Bloomsy. He likes to play in the sandbox, sleep in the refrigerator, and eat fish.
Bloomsy looks pretty pleased that he was so easy to bring to life, don’t you think?


No comments:
Post a Comment